If you 3D print to sell, you probably know this scene: dozens of folders on your
computer with files called llavero_V2_FINAL_definitivo.stl, and no memory of how
much filament that version used or which slicing profile you chose. And when an
order comes in on Etsy, you estimate your costs by eye and hope you don't lose
money.
In a 3D printing workshop or farm, the technical mess and the commercial one get tangled up if you don't keep them apart. That's why BolloPrint handles them separately. In this guide we explain how Designs, Pieces, Products and Variants fit together, so you can go from a pile of loose files to an orderly catalogue.
Keep the technical apart from the commercial
One of the most common mistakes when running a workshop is treating an STL file as if it were the product you sell. In practice, the same 3D model can be printed in different materials, be made up of several parts or be sold in packs.
That's why BolloPrint organises your catalogue into three levels.
Designs: the technical library
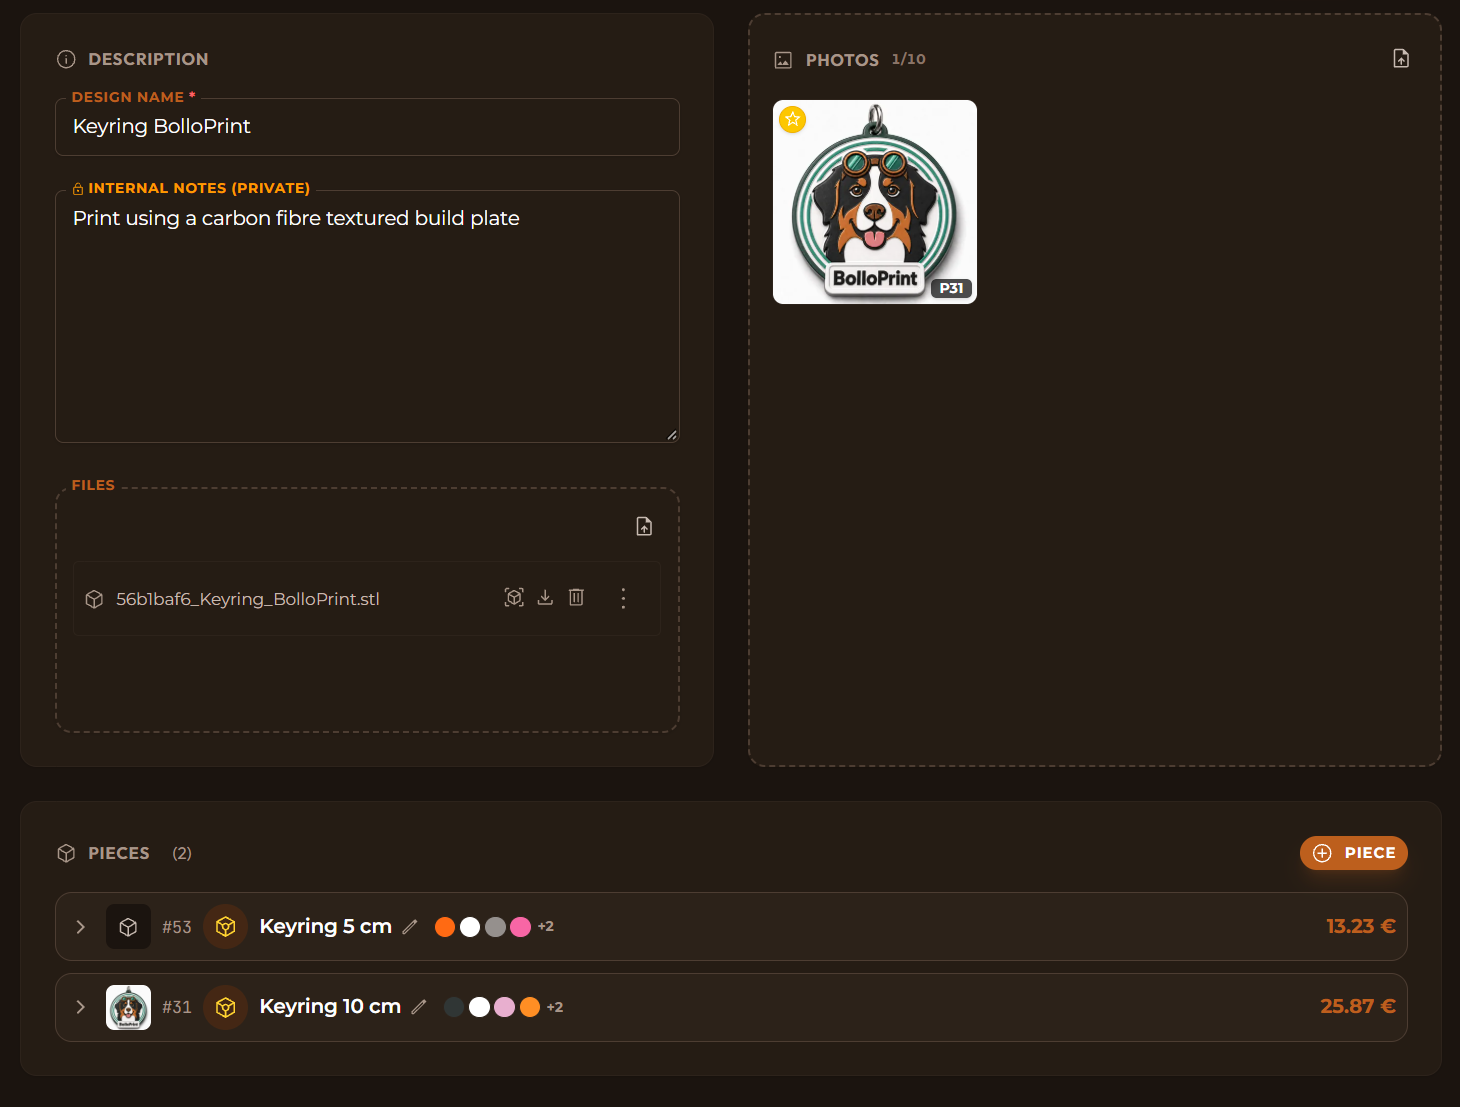
The Design is the container for your source files: the STL, OBJ or 3MF projects, along with the model's photos and your internal notes.
- Think of the Design as the blueprint or the idea. It has no print times or grams of filament, because the same STL can be printed at different scales or in different materials.
Pieces: the physical object
A Piece is what you get when you take a Design and give it a specific print configuration: the material and how much of it is used (for example, black PLA), the dimensions and the print time.
- One Design, several Pieces. With the same STL you can print a figure in two sizes, 5 cm and 10 cm: that Design will have two Pieces, "Small keyring" and "Large keyring". The same goes for different colours or materials.
- Your sliced file does the maths. If you upload the slicer file to the Piece
(
.gcode,.gcode.3mf,.bgcodeor resin.goo), BolloPrint reads the weight and the print time and suggests them to you. When you apply them, it works out exactly what that piece costs you to make. You can also enter or correct the figures by hand.
💡 A project 3MF won't do here
The slicer needs to have sliced the plate to know the weight and the time. A
project .3mf doesn't include them: it belongs in the Design. Upload to the Piece
the .gcode.3mf that the slicer exports.
Products and Variants: what your customer sees and buys
The Product is your shop window: what you publish in your shop or on a marketplace such as Etsy. The Variant is the specific option the customer picks.
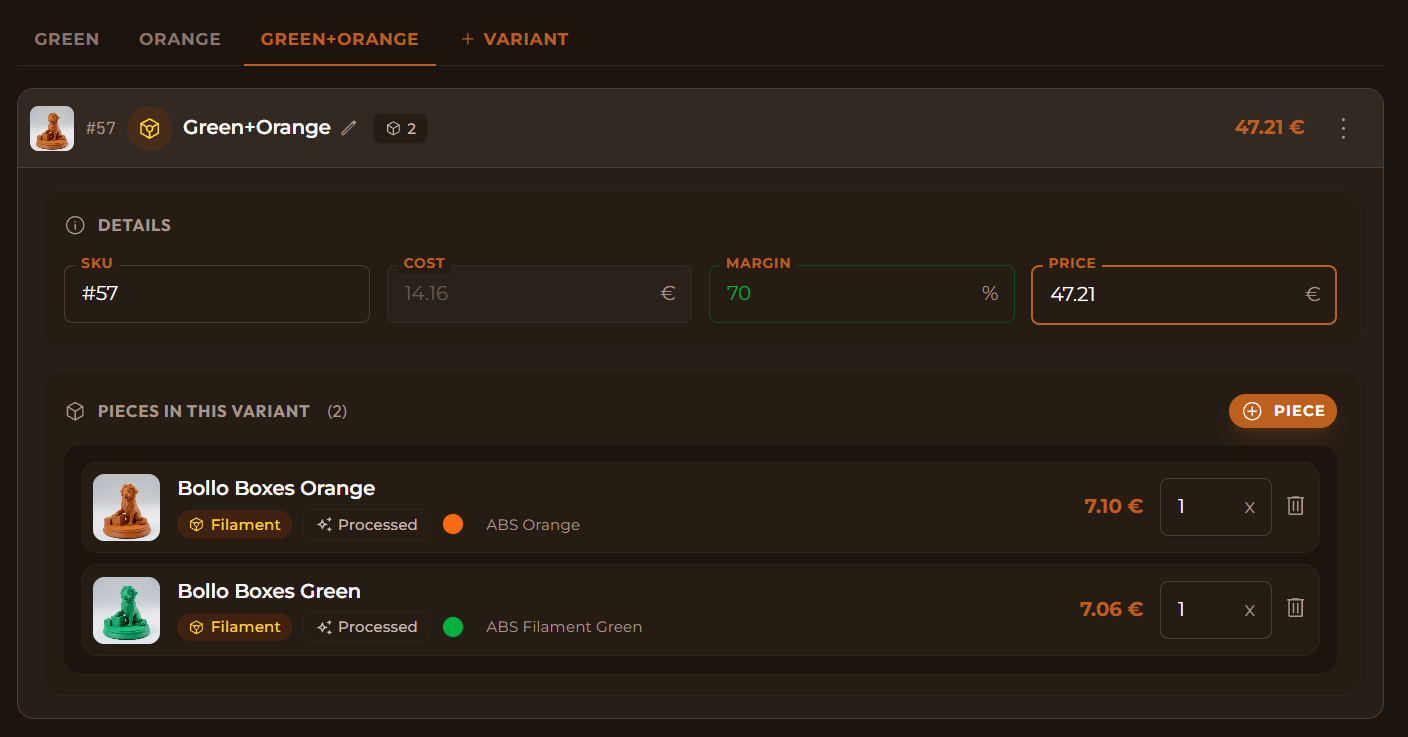
- A Variant can have one or several Pieces, each with its own quantity.
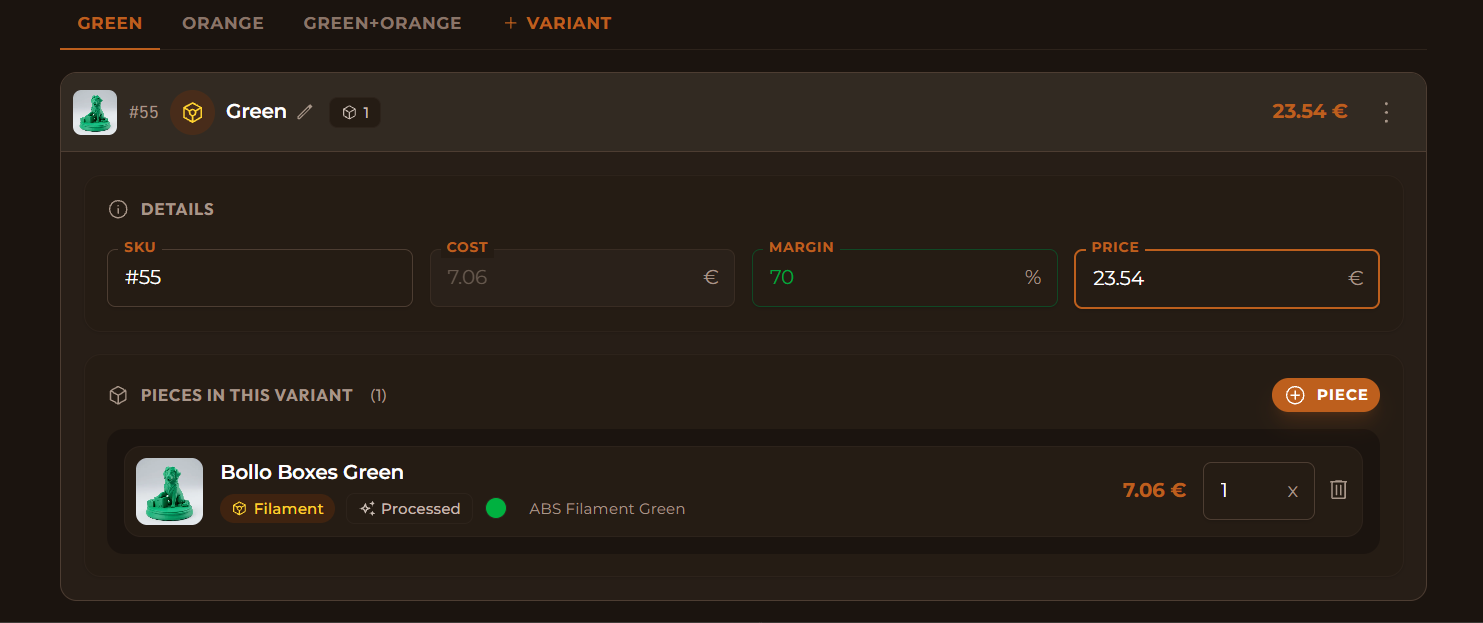
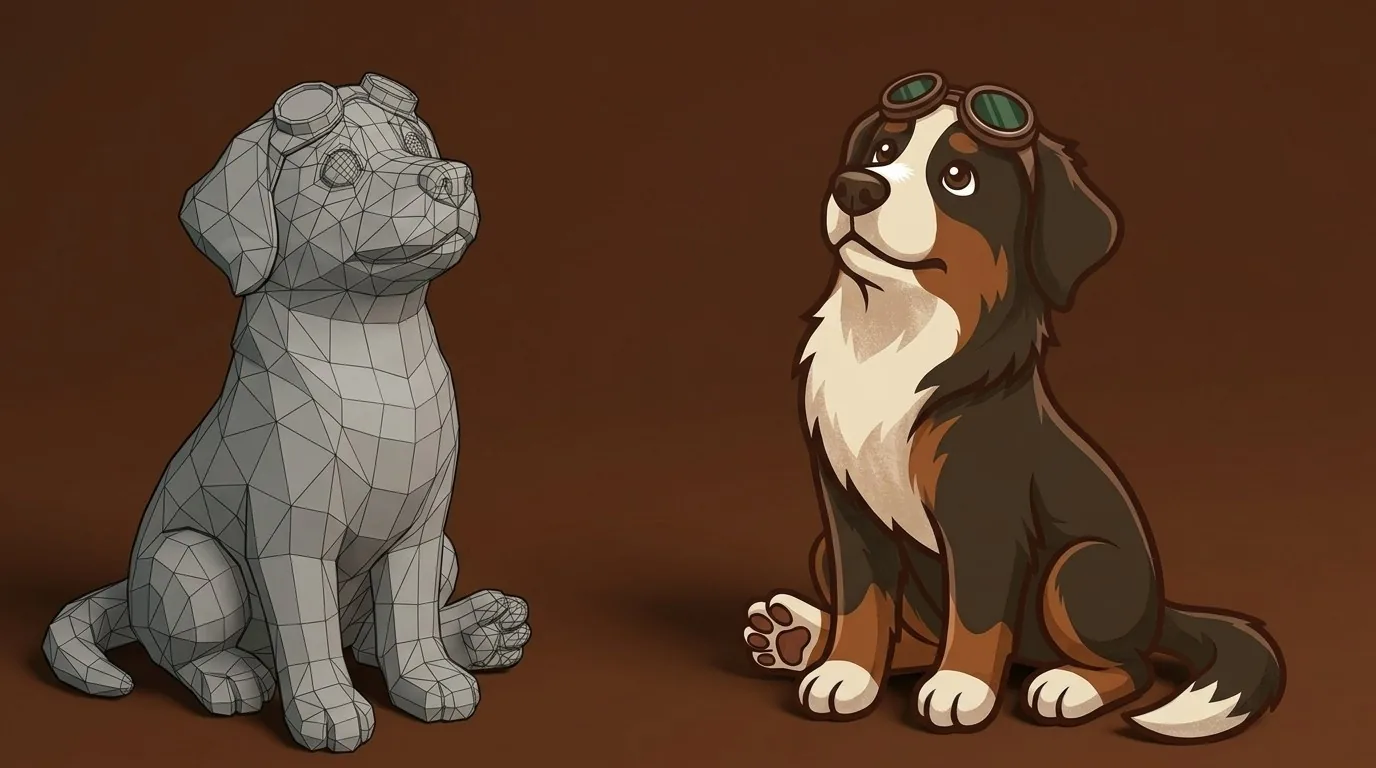
- For example: your Product is "Bollo figure", our dog. One Variant could be "Green", another "Orange" and another the "Green + Orange" pack, with both Pieces inside. You can combine materials, sizes, finishes or bundles however you like.
💡 A bundle can mix Designs
A Variant can hold Pieces from different Designs: for example, a "Welcome to BolloPrint" bundle with the keyring and the Bollo figure.
- The margin works itself out. Since each Variant knows which Pieces it's made of, BolloPrint compares your selling price with the real production cost and shows you the margin. If you change the price, the margin updates, and the other way round.
In a hurry? Use Quick create
If you're just starting out or have hundreds of models to upload, setting up Designs, Pieces and Products one by one takes time.
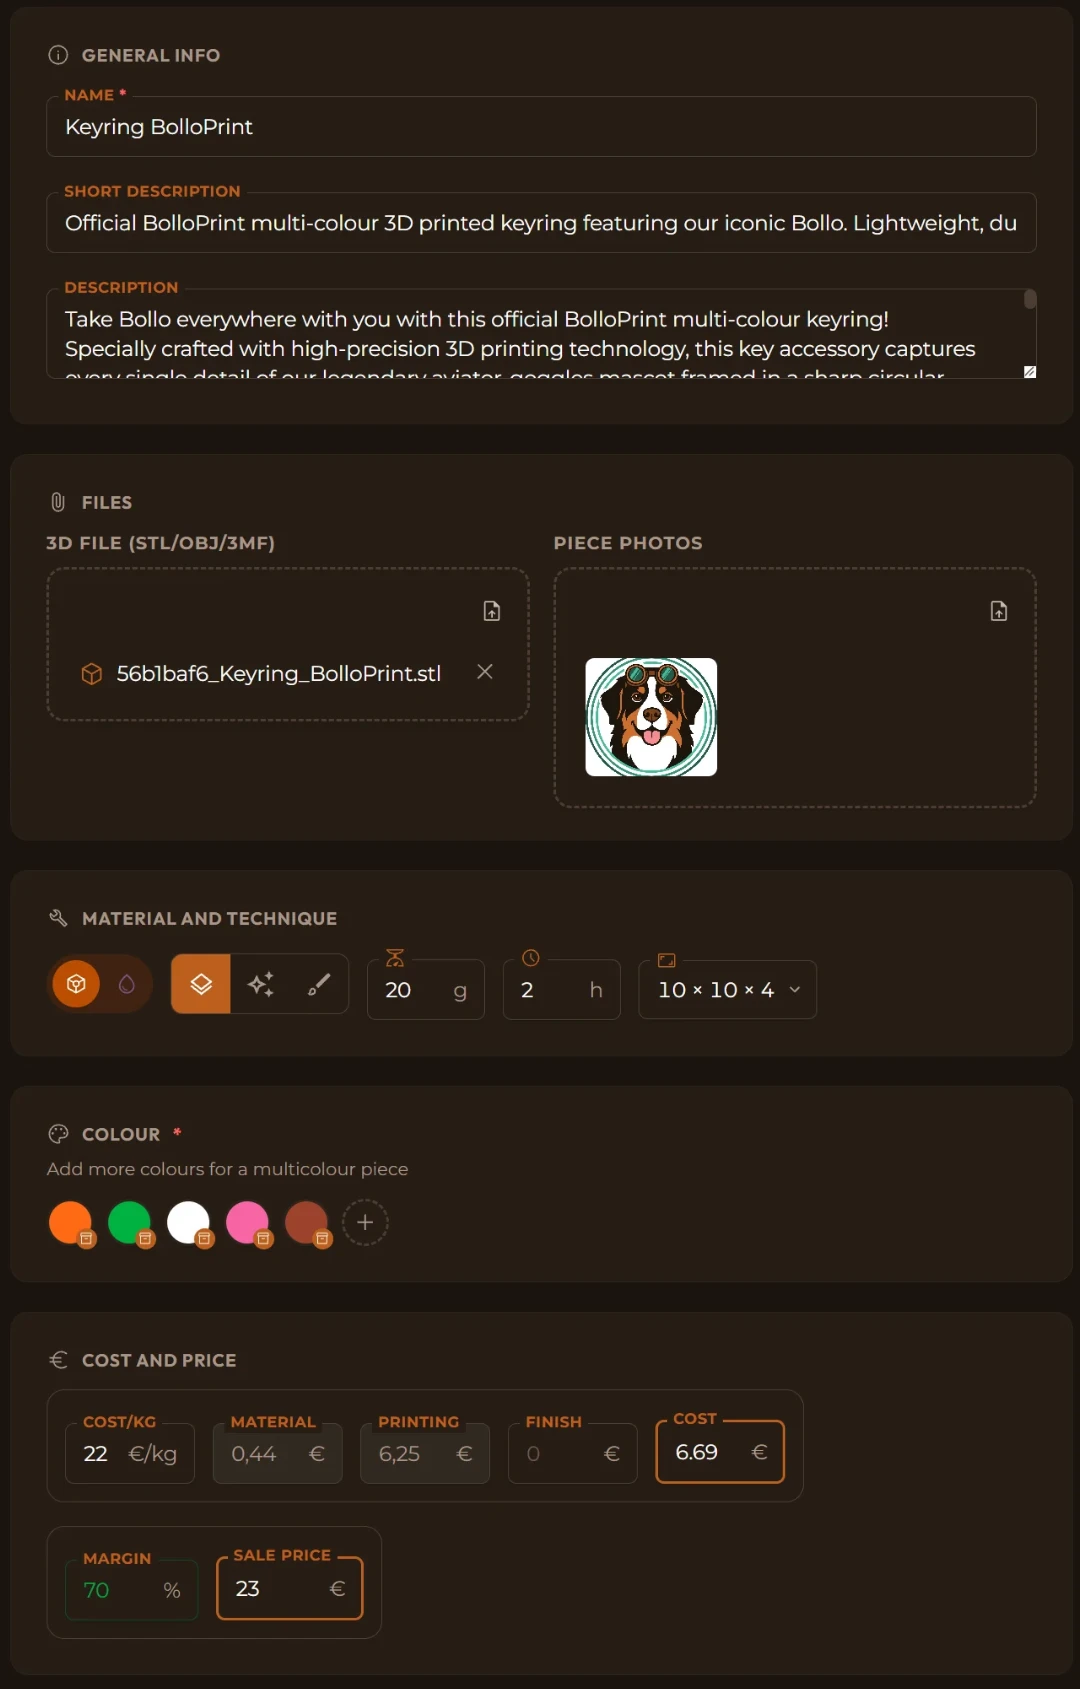
That's what the Quick create button in the catalogue is for. On a single screen you upload your 3D file, enter the material, the weight, the time and the price, and BolloPrint creates the Design, the Piece, the Product and its Variant in one go. The result is the same as if you did it step by step, so you can fine-tune whatever you like afterwards.
Your tags carry over to the product on their own
Another detail that saves you work: a Design's tags carry over to its Products on their own.
If you tag a Design as "Keyrings" or "Figures", when you add its Pieces to a Variant, those tags are added to the Product. And if you sell on Etsy, when you publish the listing they're already filled in as tags, which help people find you. Etsy allows up to 13, of 20 characters at most, and you can adjust them before publishing.
Start organising your catalogue
Having a well-organised catalogue isn't just about tidiness: it's how you know what each piece costs you, how much you earn on each order, and how you grow your workshop without losing control.
If you'd like to see in more detail how to set up your catalogue or create advanced variants, take a look at the catalogue documentation. And if you're wondering where the cost of each Piece comes from, we explain it in what a printed piece really costs.
Find out how to keep track of your workshop's production with BolloPrint, your software for 3D printing farms.
May your catalogue grow as orderly as it starts.
Related documentation
- Catalogue: the levels of the catalogue, in the reference
- Designs: the files, the photos and the tags
- Pieces: the material, the sliced file and the cost
- Products and Variants: the price, the margin and the pieces in each variant
- Quick create: everything in one go
- Tags: how they're created and managed